Jituhunt Thermal Scope OrionS25 one shot zeroing
Share
Here is a general guide for one - shot zeroing of thermal scopes:
Prepare the necessary materials: You need a thermal scope, appropriate firearms, matching ammunition, and thermal targets. The thermal targets can be self - adhesive and self - heated ones, or you can make your own DIY targets, such as using foil - covered cardboard, black duct tape on a white background, or attaching frozen screws to a cardboard target.
Install and set up the thermal scope:
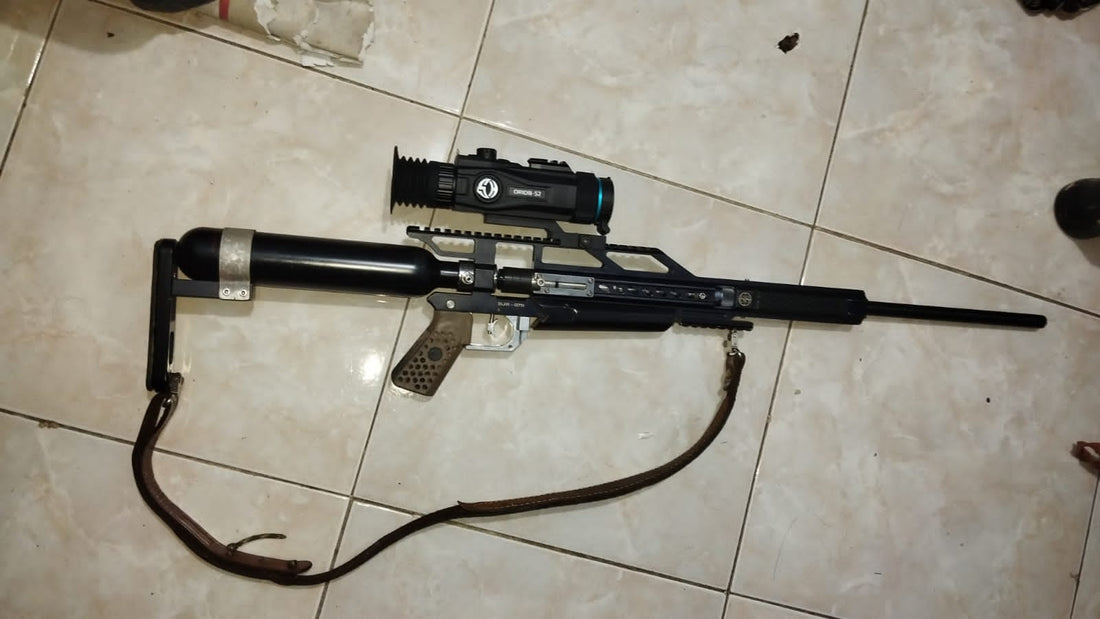
Install the scope: Securely attach the thermal scope to the firearm and ensure proper alignment.
Set the magnification: Set the scope to its native magnification (usually 1x on the screen, with no zoom).
Select the rifle profile: If the scope has this function, choose the appropriate rifle profile according to your scope model.
Adjust other settings: Adjust the brightness, contrast, and other settings of the thermal scope to ensure that the target and surroundings are clearly visible.
Prepare the shooting range:
Choose a safe area: Select a suitable and safe shooting area with a clear line of sight and minimal obstructions. The shooting range should allow you to place targets at different distances, typically between 20 and 100 yards.
Set up a stable shooting platform: Use a bench rest, tripod, shooting bag, or sandbag to stabilize the firearm and reduce hand - movement errors.
Take the first shot: Aim at the center of the thermal target and fire one shot. It doesn't matter if the bullet doesn't hit the exact center of the target, but it should at least hit the paper or cardboard where the target is located.
Add the second thermal target: After unloading the firearm, go to the target when it is safe and stick the second thermal target on top of the bullet hole.
Access the zeroing menu: Press and hold the menu button on the thermal scope to enter the advanced menu, and then find the zeroing sub - menu.
Align the crosshair: Aim at the first thermal target in the center of the paper or cardboard again. Use the front and back buttons to move the crosshair to the second thermal target covering the bullet hole. Briefly press the menu button to switch between left - right and up - down adjustments. When moving the crosshair, its original position will be marked with a white dot. Ensure that when aiming at the first thermal target with the white dot, the crosshair is aiming at the second thermal target, which means the rifle is in the same position as when the first shot was fired. It is recommended to use the black - hot mode as the white dot is more visible on the black thermal target.
Save the new crosshair position: After aligning the crosshair, press and hold the menu button to save the new position of the crosshair.
Verify the zero: Shoot at the first thermal target at least three more times, aiming at the same point. If the previous steps were performed correctly, the bullets should hit the target accurately or be within 1 or 2 clicks from the center. If necessary, make these 1 - or 2 - click adjustments. Remember, always move the crosshair towards the bullet hole for adjustment.
The above is a general one - shot zeroing method for thermal scopes. However, different brands and models of thermal scopes may have some differences in the zeroing process. It is recommended to refer to the user manual of your specific thermal scope for detailed zeroing instructions.